
Create and manage tenders
A purchase tender groups the products a company needs to buy, the vendors invited to bid, and every quotation received, on a single record. This makes it possible to compare offers side by side and to keep a trace of who was invited, what they offered, and which lines were ultimately purchased.
Configuration
Purchase tender management adds a Purchase Tender Management app to the main menu, together with a User and a Manager access group.
Users assigned to the User group can access only the tenders where they are listed as a vendor contact.
Users assigned to the Manager group can access every tender, create tender types, and confirm, validate, close, or cancel tenders.
To assign these roles, go to , open a user’s form, and select User or Manager under the Tender section.
Note
Vendors are not system users. They access their tenders through the My Account portal using the email address recorded on their contact record, so no internal user account or license is required for them.
Optionally, define reusable tender categories at (for example, Goods, Services, or Works) to group tenders by type on the list and kanban views.
Create a tender
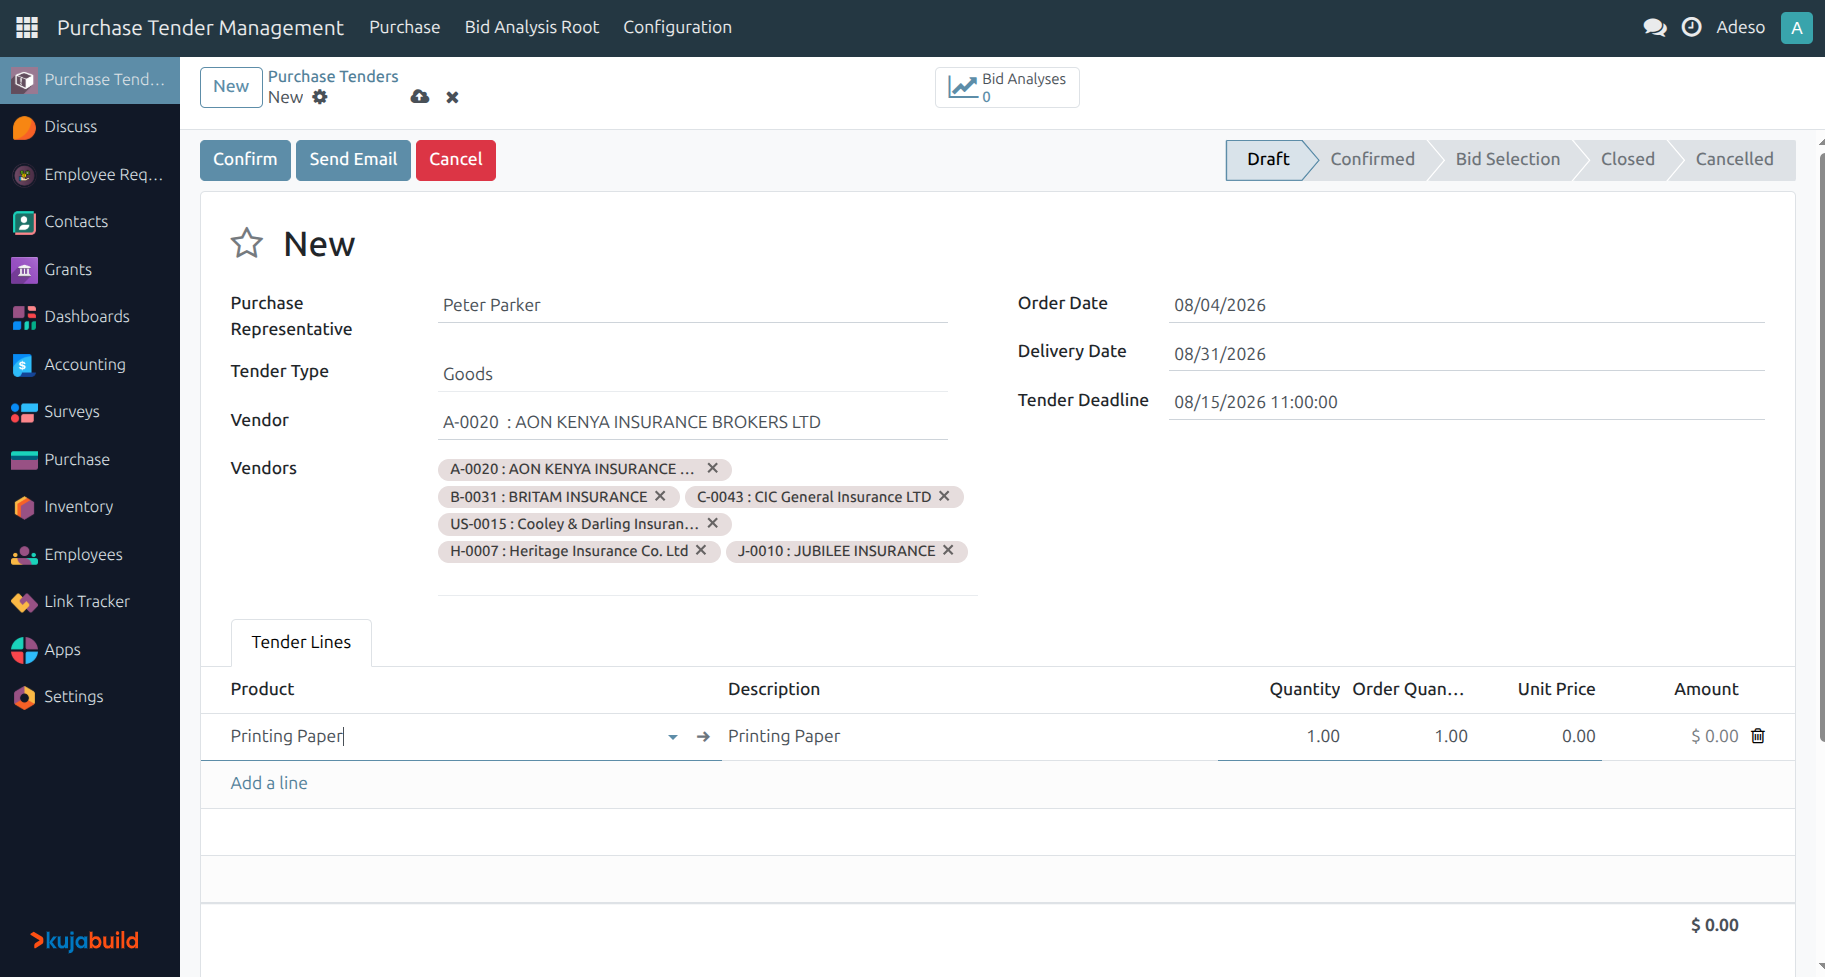
To create a tender, go to and click New. On the form, fill in:
Purchase Representative: the internal user responsible for the tender.
Tender Type: an optional category configured above.
Order Date, Delivery Date, and Tender Deadline: the reference dates used to track the tender.
Vendor: the preferred vendor.
Vendors: the list of vendor contacts invited to submit a bid.
On the Tender Lines tab, add one line per product, with the Quantity requested and,
optionally, an indicative Unit Price used as a reference while comparing bids. KujaBuild
generates a sequential reference for the tender (for example, TEN/00001) once the record is
saved.
While the tender is in the Draft stage, every field remains editable. Click Confirm to lock the header information, or Cancel to discard the tender; only a tender in the Draft stage can be deleted.
Invite vendors
From a confirmed tender, click Send Email to open the standard Send a Message window, pre-filled with all vendors from the Vendors field and an email template presenting the tender. Each vendor listed receives a link to view the tender and submit a bid from their portal.
Alternatively, use the Purchase Quotation button to open the Create RFQ wizard, choose one of the invited vendors, and generate an internal RfQ for that vendor directly, pre-filled with the tender’s products and quantities.
Receive and compare vendor bids
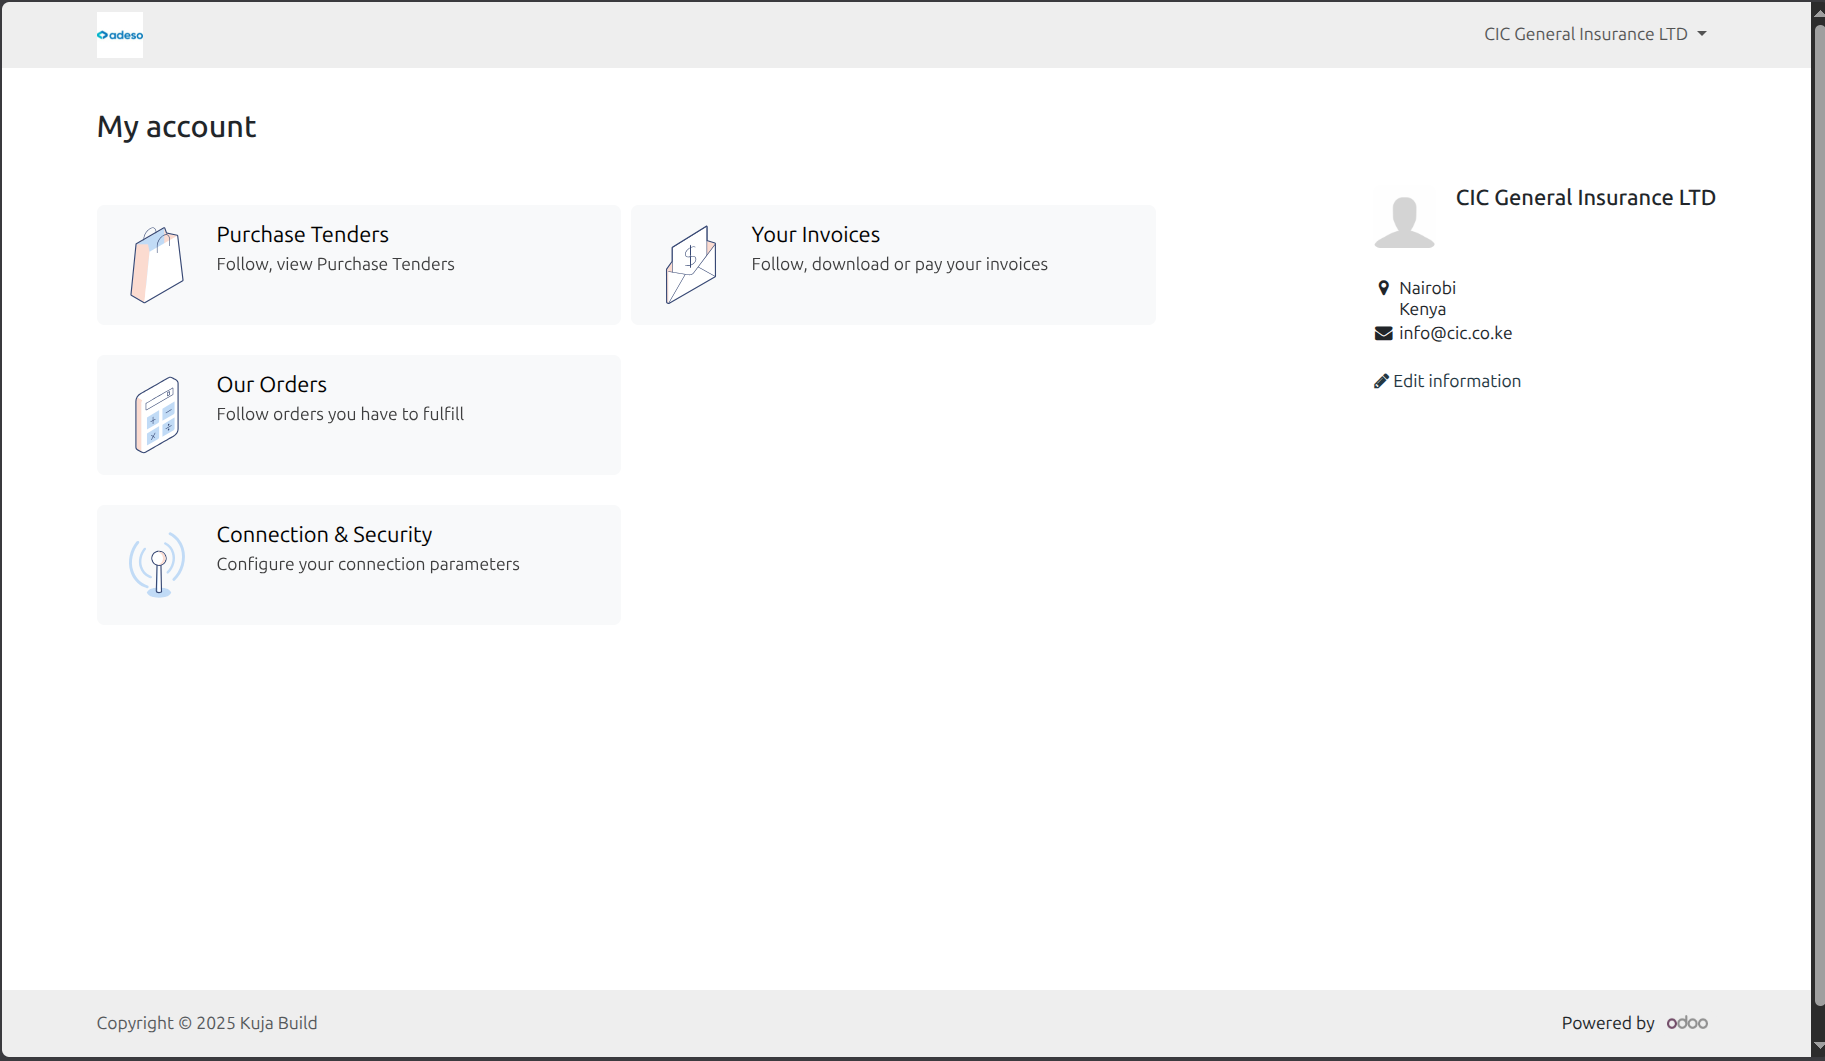
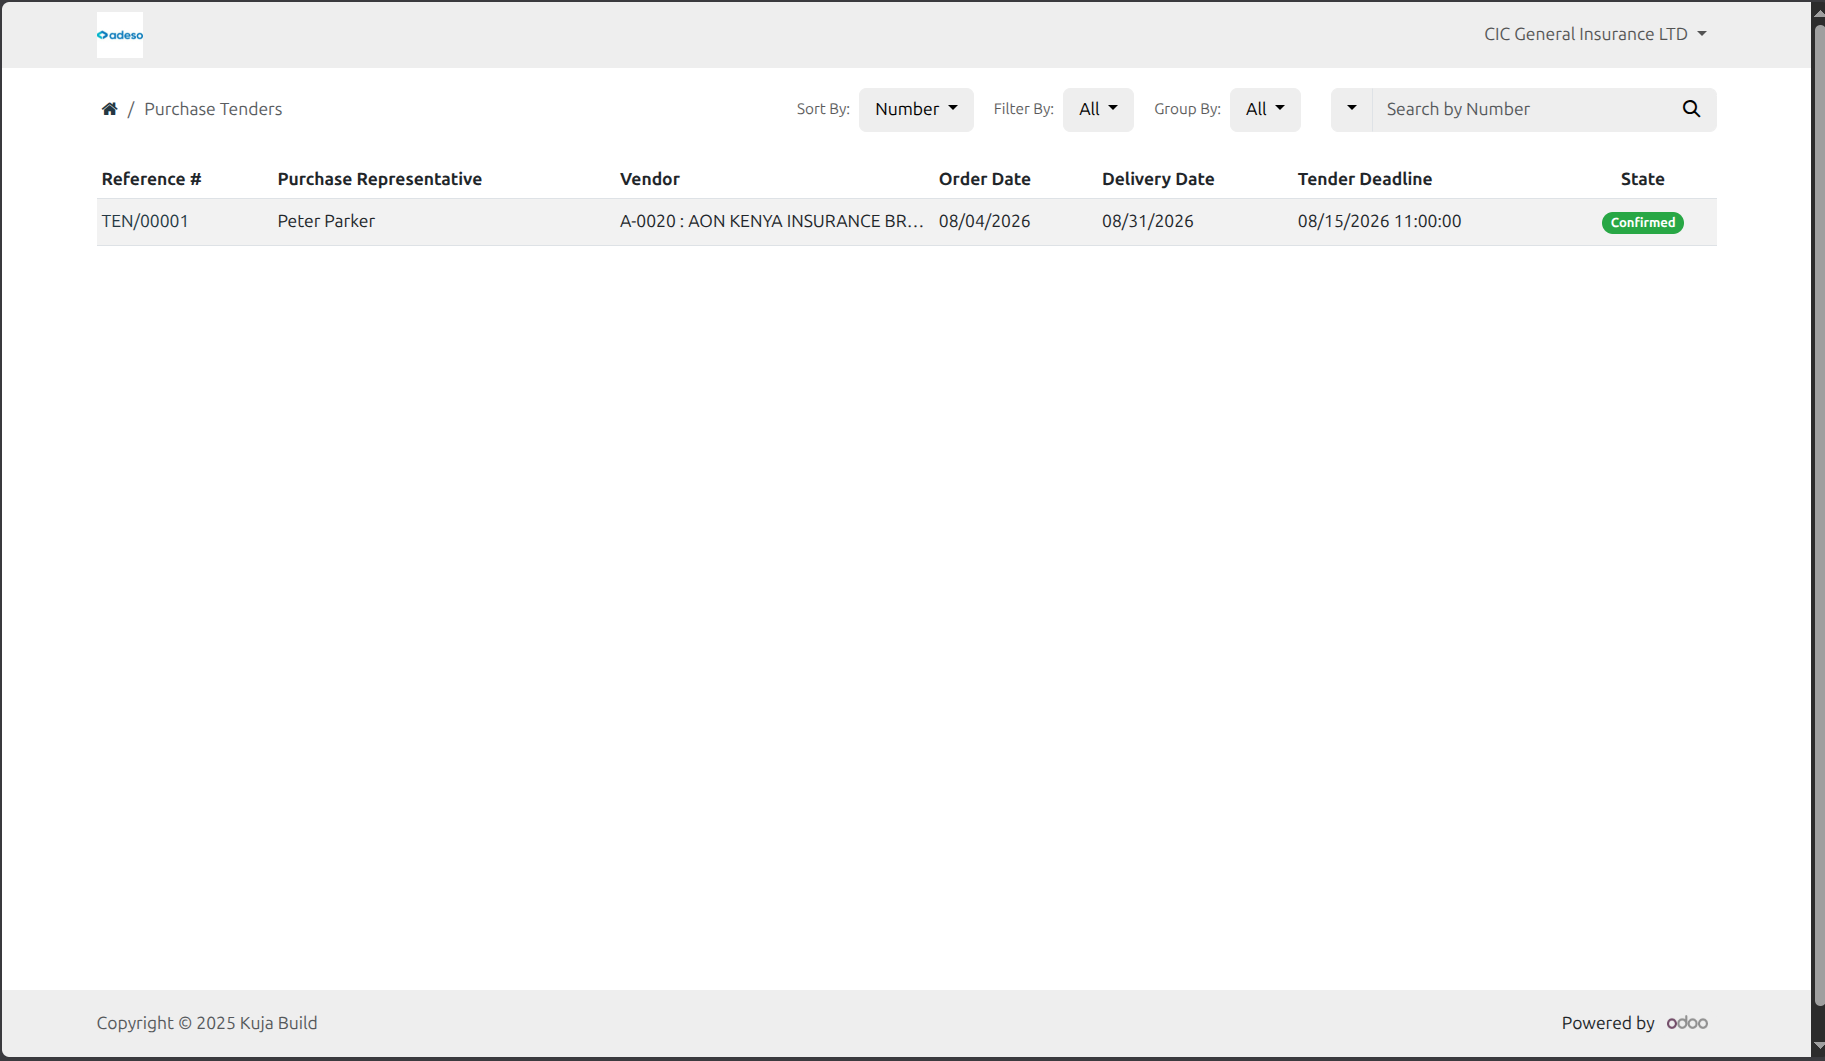
After signing in to the portal, an invited vendor opens the tender from , reviews the requested products and quantities, and submits their prices line by line.
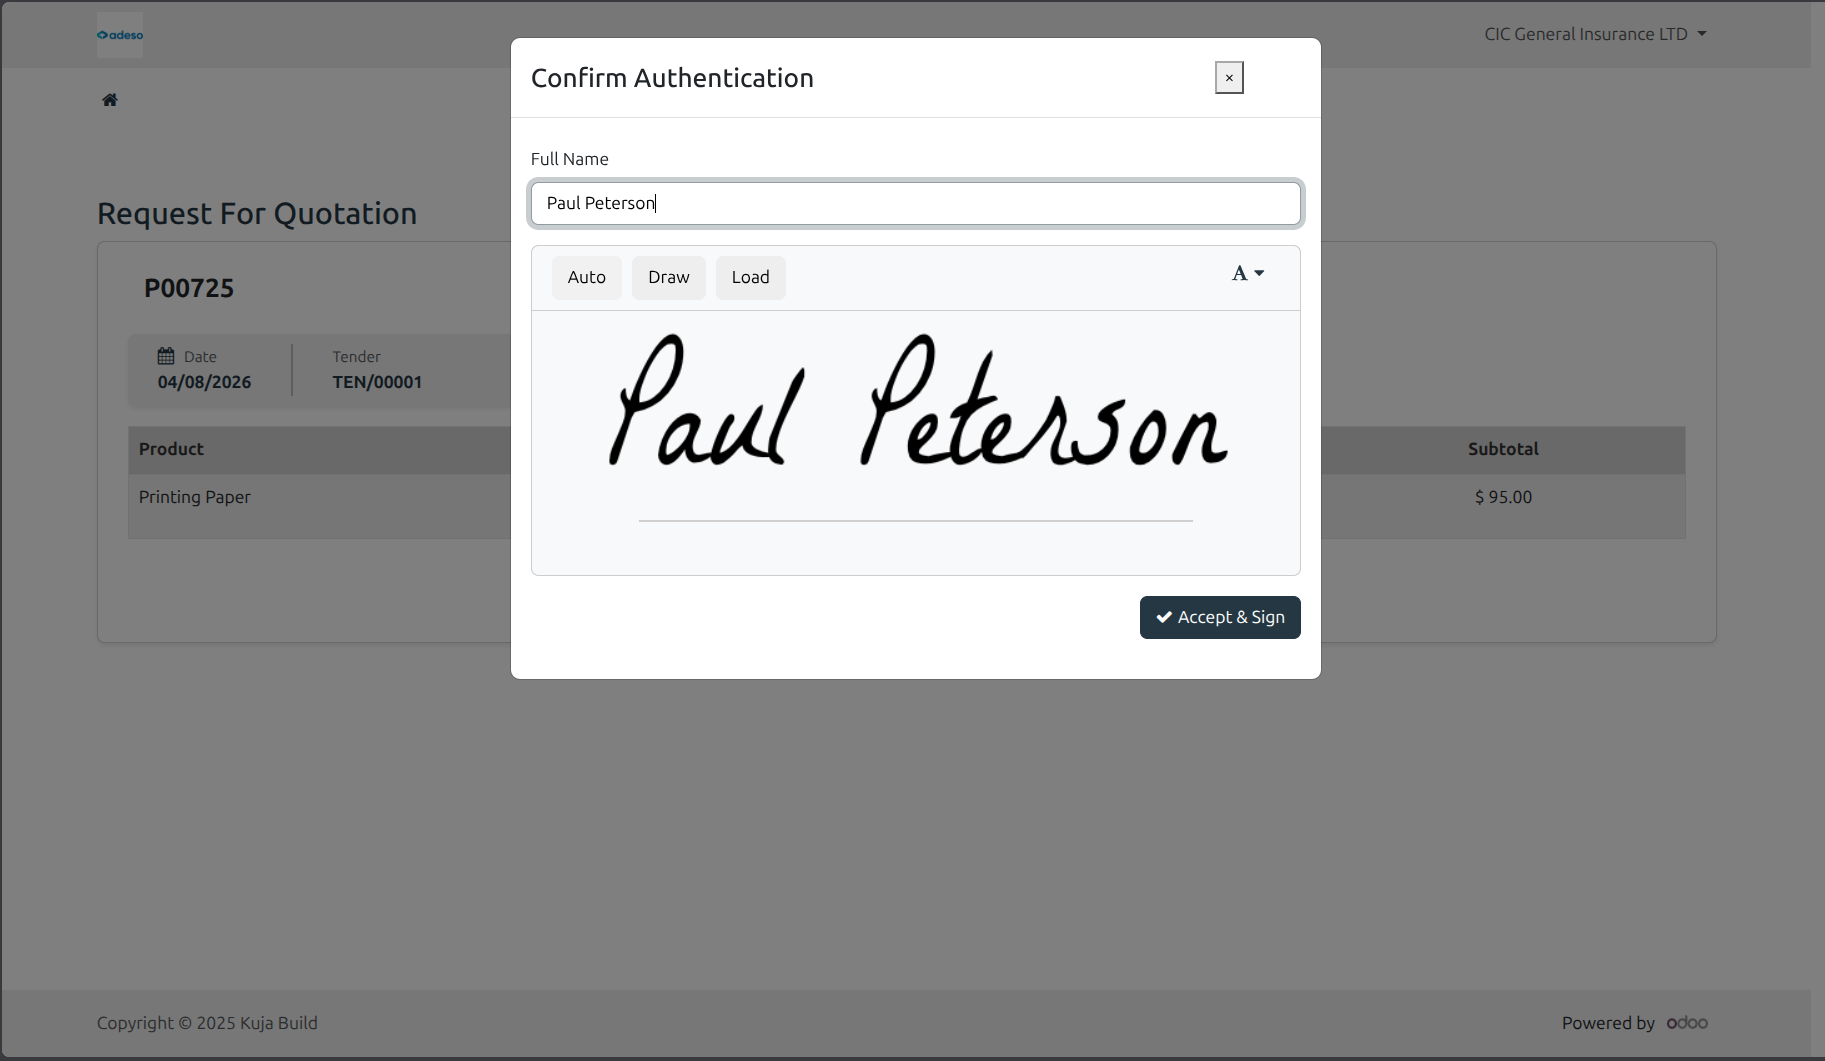
Once satisfied, the vendor types their full name and signs the tender online; the signature and signing date are recorded on the resulting quotation.
Each vendor bid becomes a draft purchase order linked to the tender. Click Validate on the tender to move it to the Bid Selection stage, then use the Open RFQs and RFQ lines count smart buttons to review every line received, grouped by vendor.
You can do a bid analysis of the various vendors and bids by clicking on the Bid Analyses smart button and selecting a Bid Analysis. Refer to the documentation here: Analyze and score vendor bids
Once every line has been reviewed, click Close to close the tender, or Cancel to cancel it. The Purchase Order smart button on the tender opens all confirmed purchase orders generated from it.
Print tender and RFQ reports
From a tender or from an individual RfQ, use to generate a PDF report listing the tender’s products, quantities, and the prices offered, suitable for sharing internally or archiving alongside a purchasing decision.
You can also print the Open RFQ Report to show you the open RfQ linked to the tender. Click