Vendor Prequalification
Some purchases should only go to vendors who have already proven they meet a required standard, such as a safety certification, an insurance policy, or a technical audit, before any order is placed with them. Tracking this informally, in a spreadsheet or a folder of certificates, makes it easy to miss a vendor whose approval has lapsed or was never actually granted. Vendor prequalification keeps a formal, time-bound record of which vendors are approved for which category of products, and can block the confirmation of a purchase order if the selected vendor is not prequalified for what is being bought.
A prequalification record moves through its own approval flow and can optionally be backed by a survey, sent to the vendor from their portal, used to collect the information needed to support the approval decision.
Configuration
Assign roles
Vendor prequalification does not add its own access groups; it reuses the existing Purchase groups.
Users in the Purchase / User group can create prequalifications, activate them, and send assessment surveys to vendors.
Users in the Purchase / Administrator group can additionally suspend, cancel, and reset prequalifications to draft.
To assign these roles, go to , open a user’s form, and select the appropriate group under the Purchases section.
Note
No user, including an administrator, can delete a prequalification or a prequalification category. Use Cancel to retire a prequalification that is no longer needed instead.
Define prequalification categories
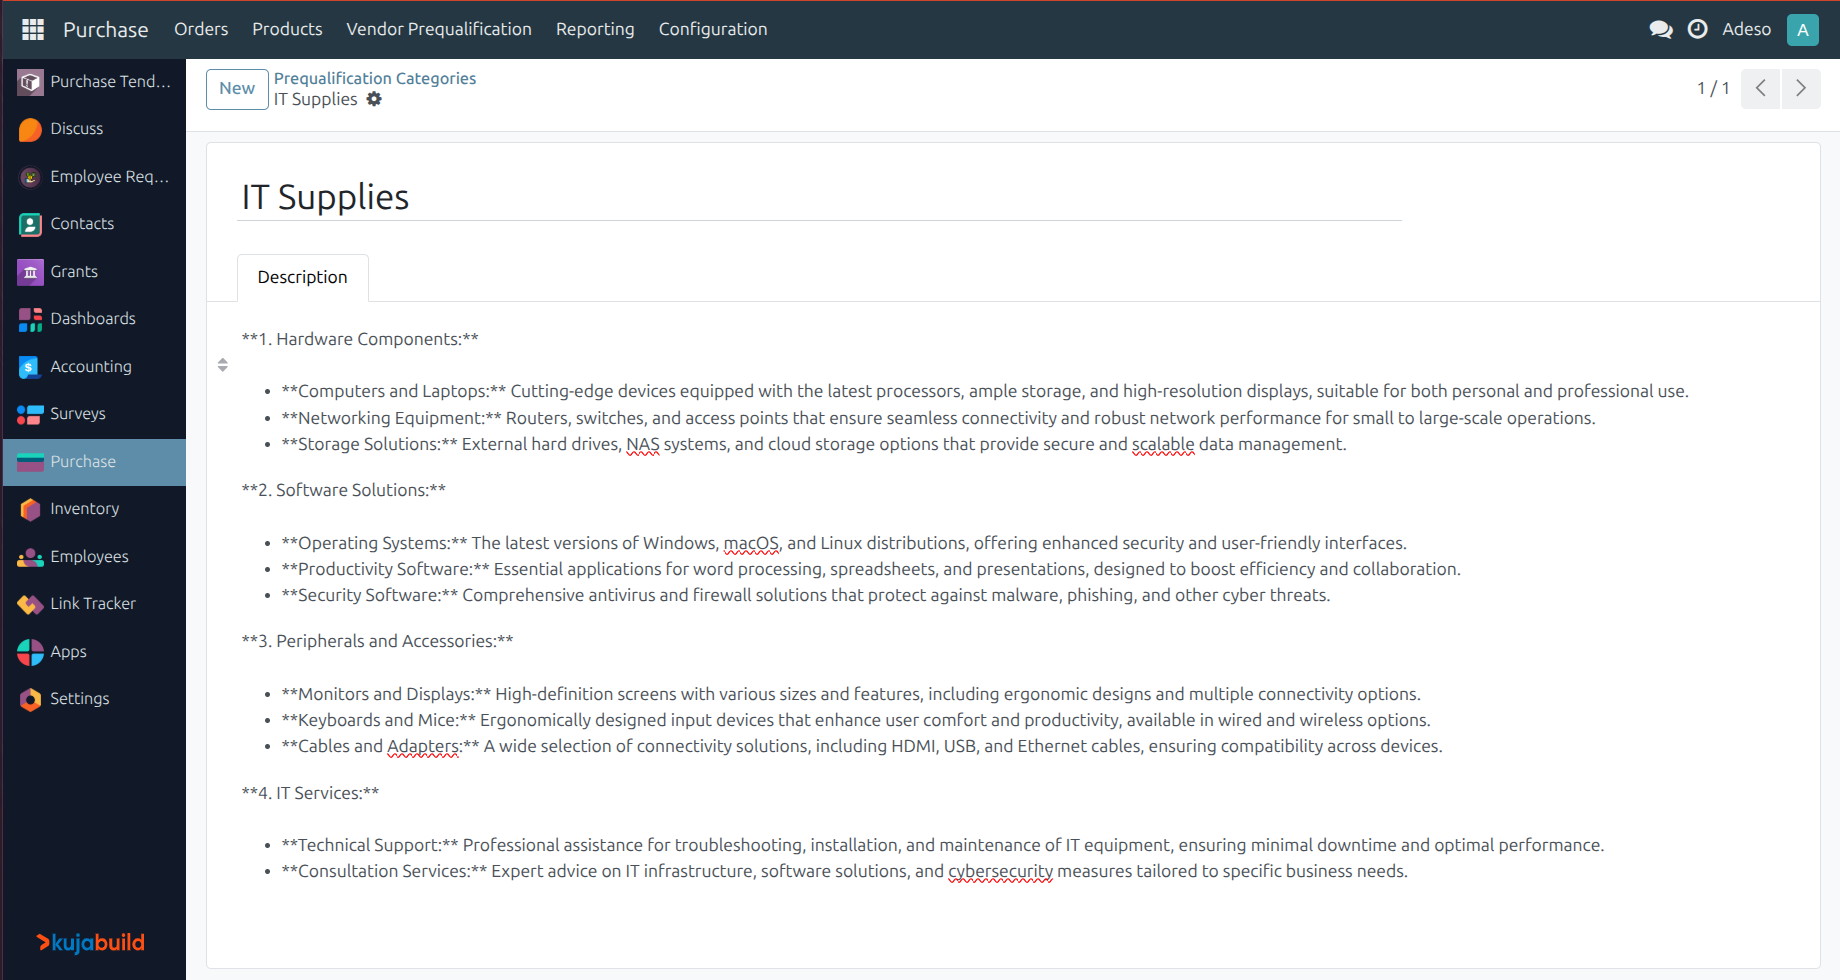
A prequalification category represents a standard vendors must meet, and is what a prequalification record and a product category are matched against. Go to and click New to create one, giving it a unique Category Name and, optionally, a Description describing what the category covers. The Sequence handle on the list controls the order categories appear in everywhere they are selected.
Link product categories to a prequalification category
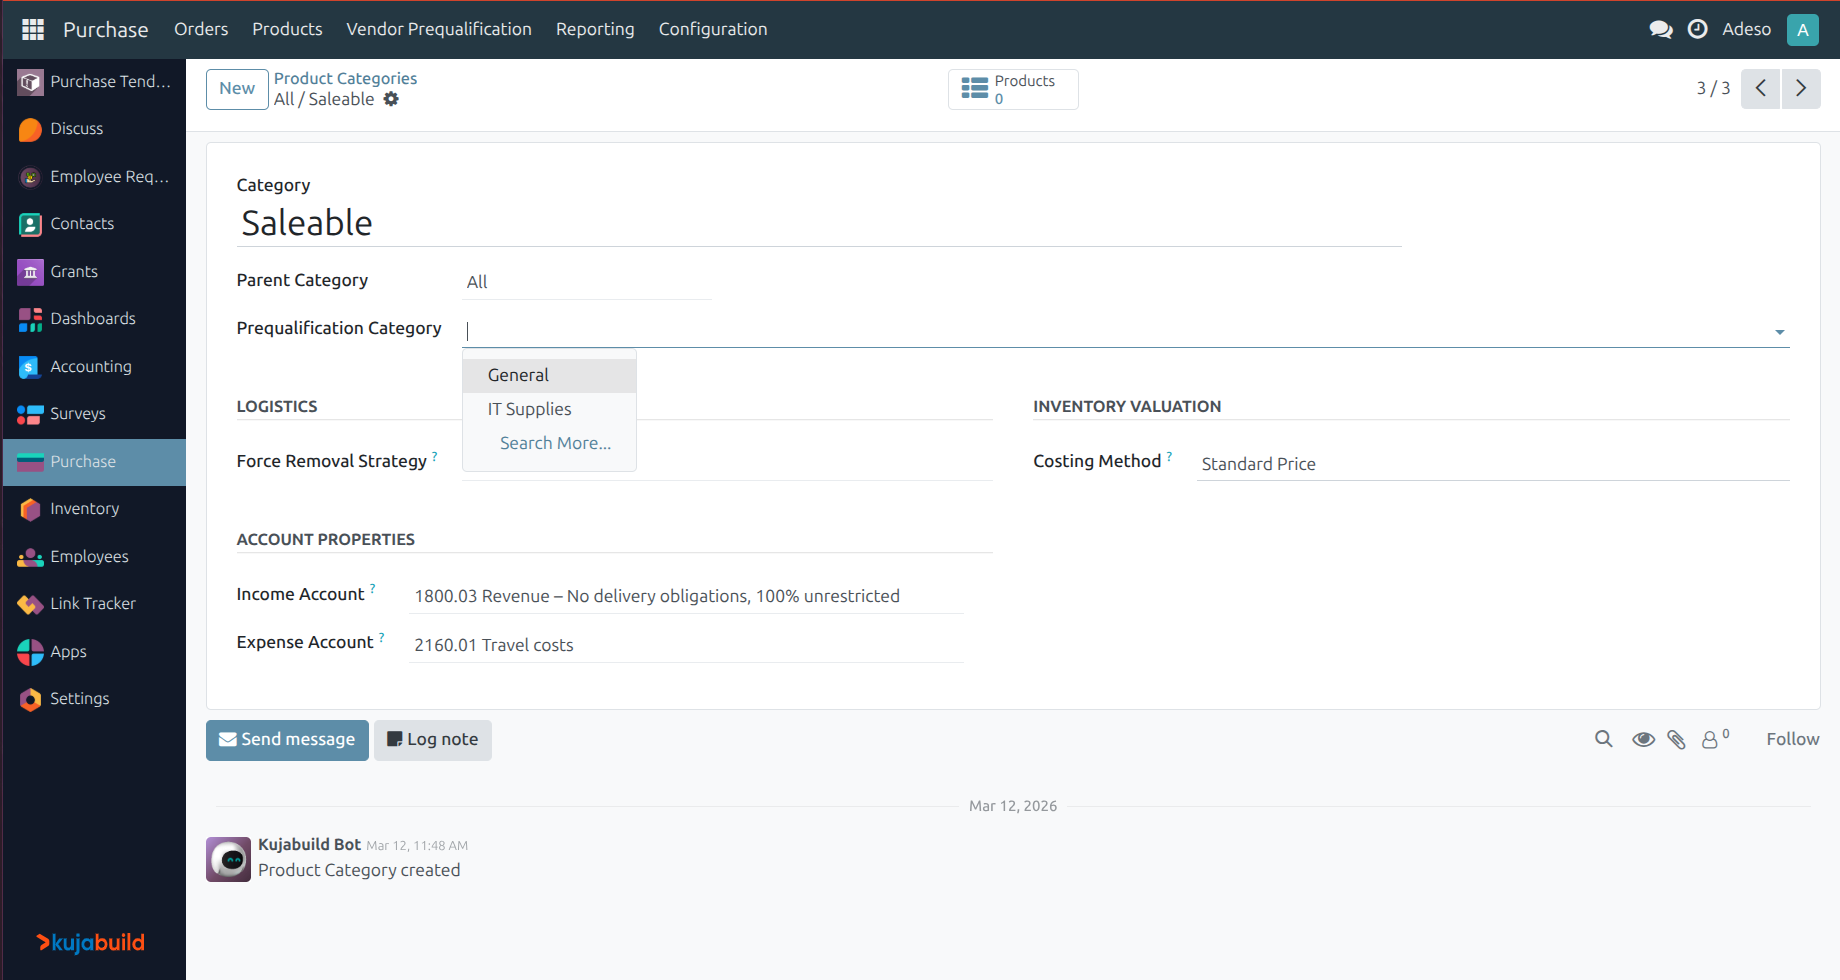
To require prequalification for a group of products, open the product category at , or from a product’s Product Category field, and select a Prequalification Category on its form. Once set, a Prequalified Vendors smart button appears, listing every vendor currently prequalified for that category.
Note
Products whose category has no Prequalification Category set are not affected by any of the checks described below; prequalification is opt-in per product category.
Create a vendor prequalification
Go to and click New. On the form, fill in:
Vendor: the contact being prequalified.
Category: the prequalification category the vendor is being approved for.
Date From and, optionally, Date To: the period during which the approval is valid.
The Notes tab, for any supporting information about the approval.
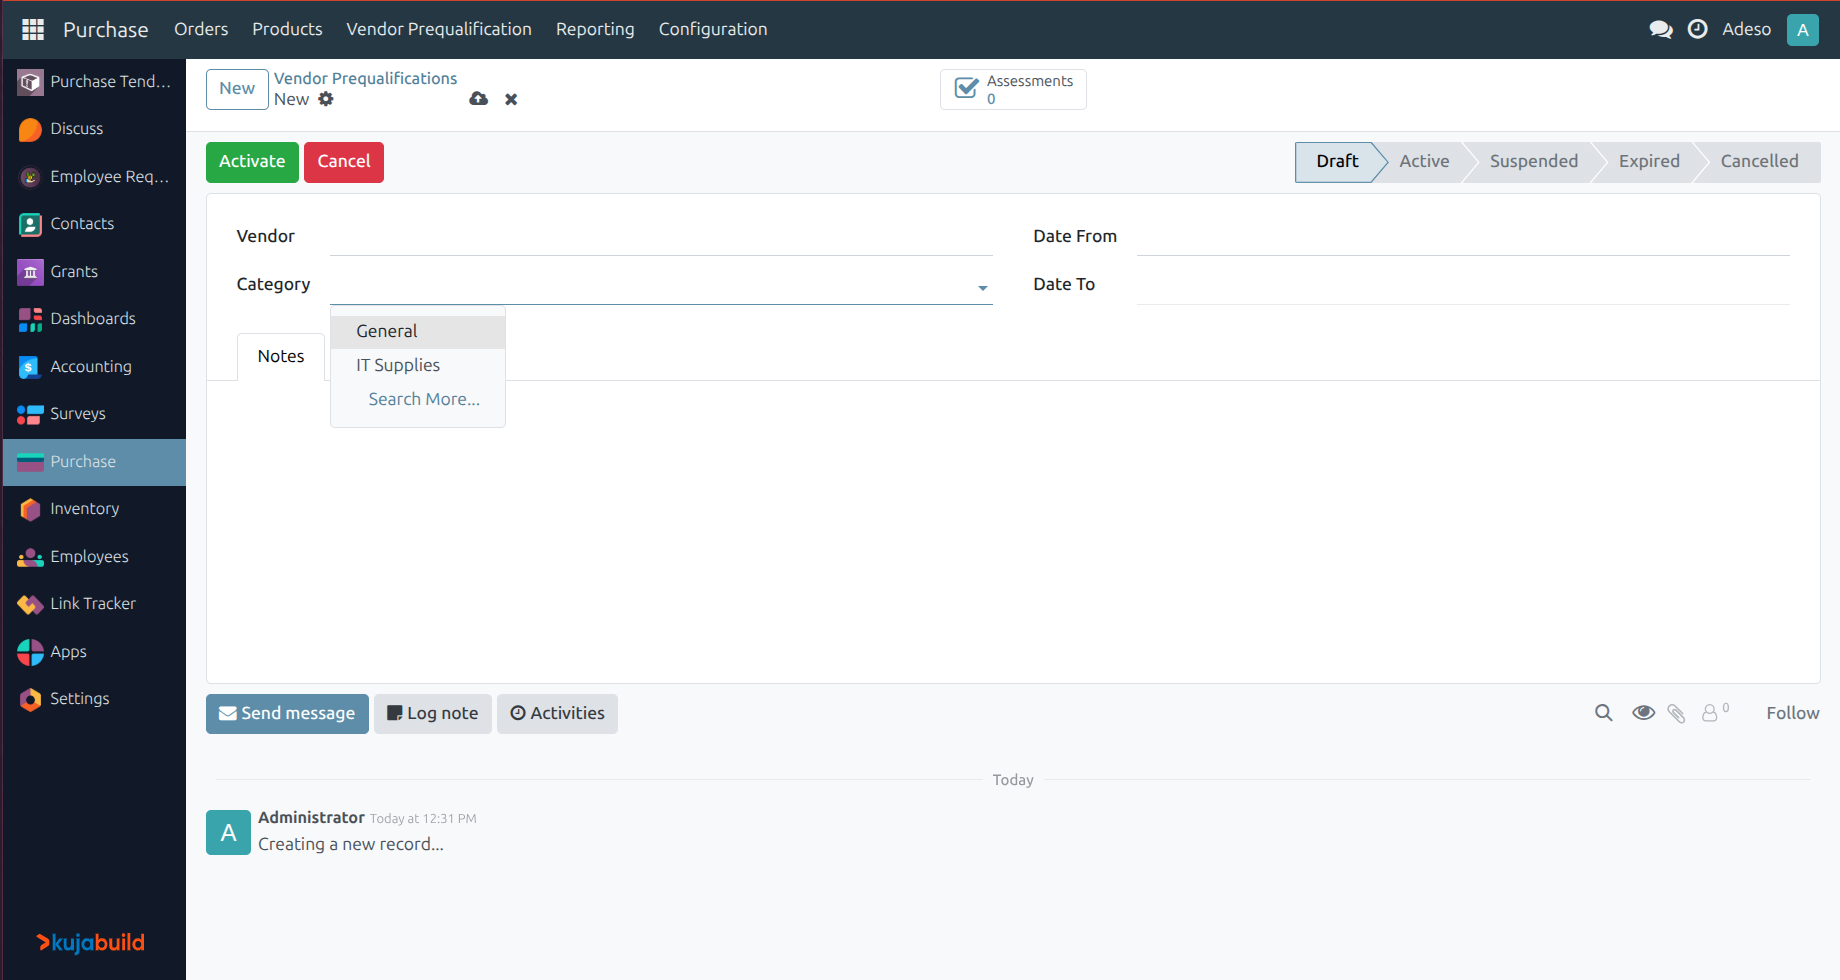
The Vendor, Category, Date From, Date To, and Notes fields can only be edited while the prequalification is in the Draft status.
Manage the approval status
A prequalification moves through five statuses, shown on its status bar: Draft, Active, Suspended, Expired, and Cancelled.
Click Activate to move a Draft or Suspended prequalification to Active.
Click Suspend to move an Active prequalification to Suspended, for example while a renewal is pending.
Click Cancel to move an Active or Draft prequalification to Cancelled.
Click Reset to Draft to move a Cancelled prequalification back to Draft, making its fields editable again.
Note
Expired is available as a status but nothing sets it automatically; use Suspend or Cancel once a prequalification’s Date To has passed, or set it manually if the status is used to reflect this in reporting.
A vendor only counts as prequalified for a category, including for the purchase order check described below, while its prequalification’s status is Active; a prequalification with a Date To in the past keeps blocking or unblocking orders based on its status alone, not on whether today’s date still falls within Date From and Date To.
Assess vendors with a survey
Important
This requires the Survey app.
From an Active prequalification, click Send Survey to open the Send Prequalification Survey wizard, pre-filled with the record’s Vendor. Select one or more Surveys and click Send; Odoo invites the vendor to each selected survey by email, using the Prequalification Assessment: Invite template, and the vendor completes it from their portal like any other survey invitation.
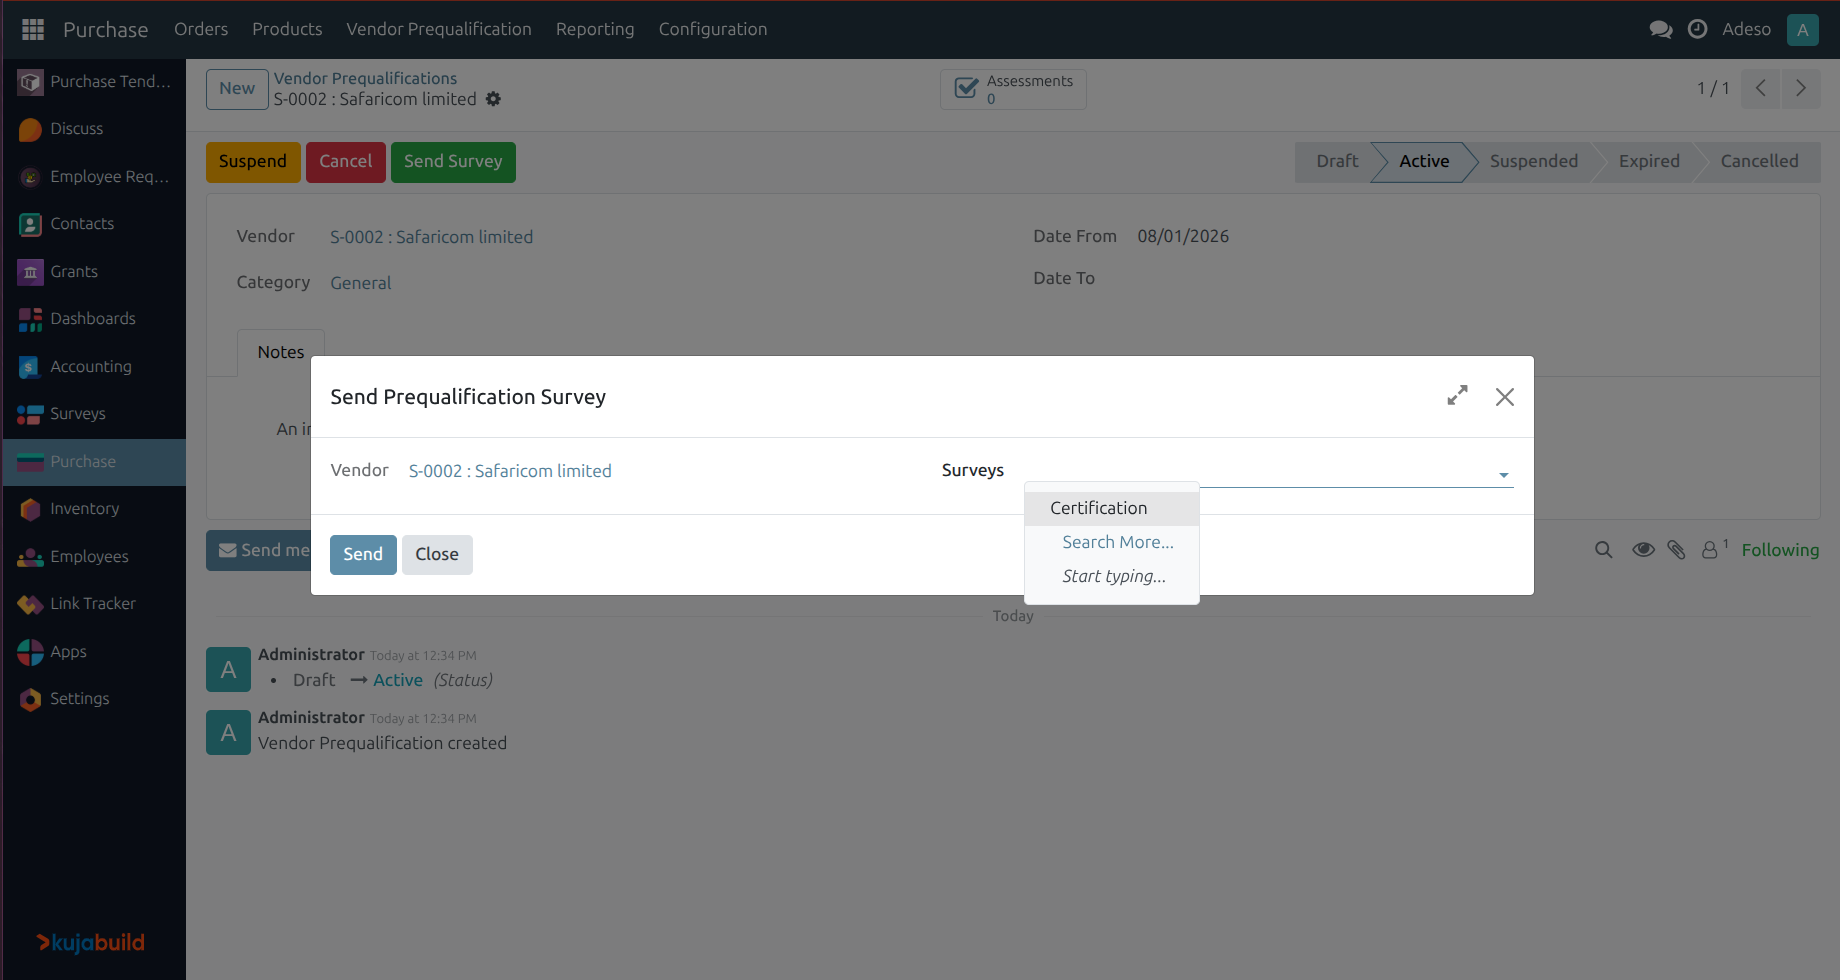
Every response the vendor submits to a survey sent this way is linked back to the prequalification it was sent from, and can be reviewed from the Assessments smart button on the prequalification’s form.
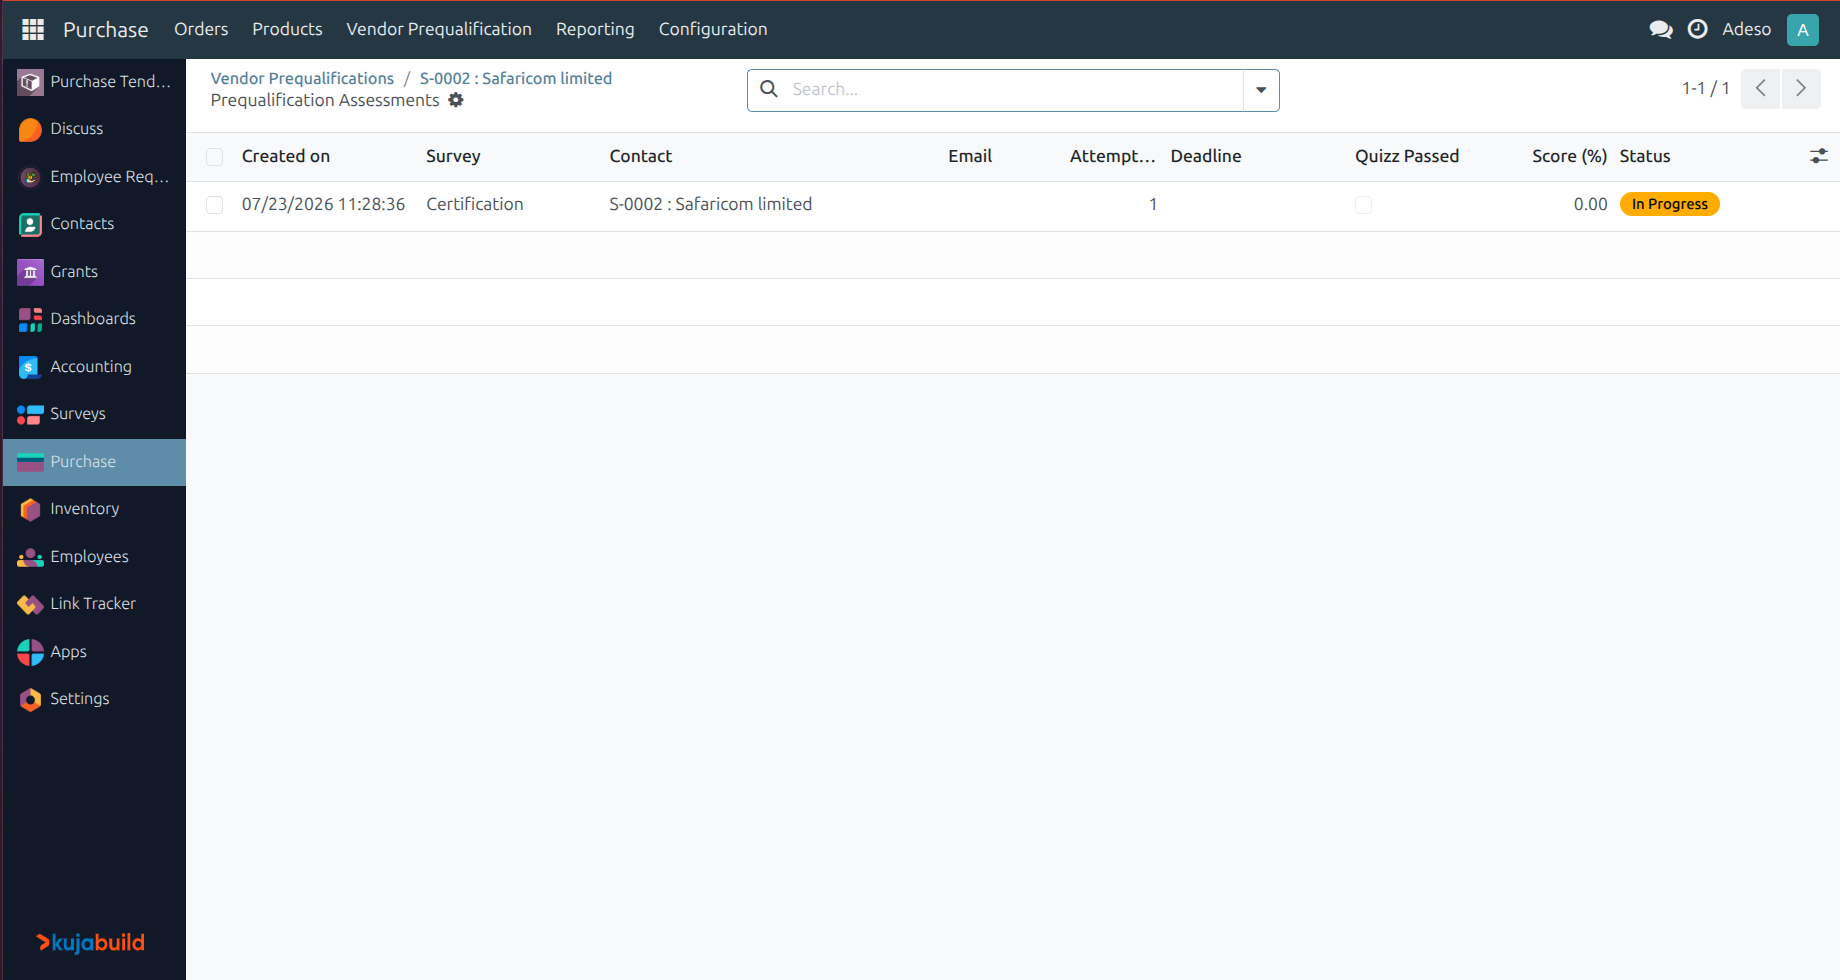
Enforce prequalification on purchase orders
Once a product’s category has a Prequalification Category set, confirming a purchase order (Confirm Order) checks, for every order line, whether the order’s vendor has an Active prequalification for that product’s prequalification category. If one or more lines fail this check, confirmation is blocked and KujaBuild lists the products for which the vendor is not prequalified.
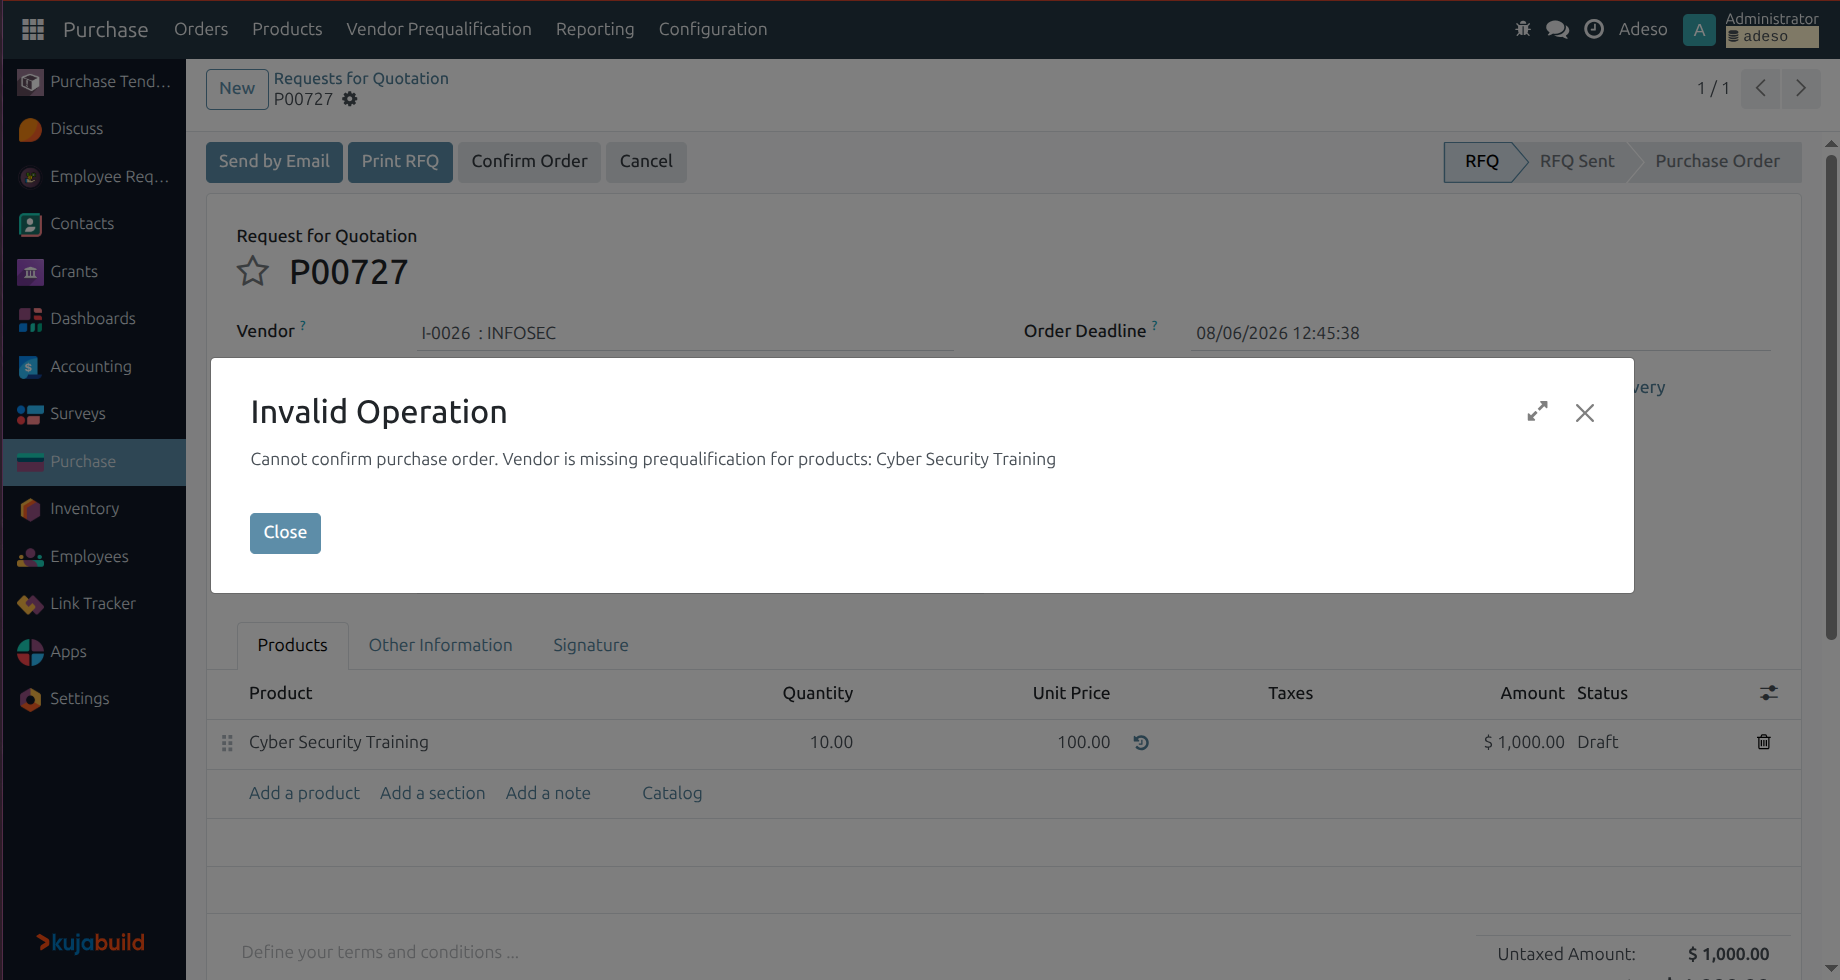
To resolve this, either select a different, prequalified vendor on the order, or create and activate a vendor prequalification, as described above, before confirming.
Track prequalifications on a vendor’s contact
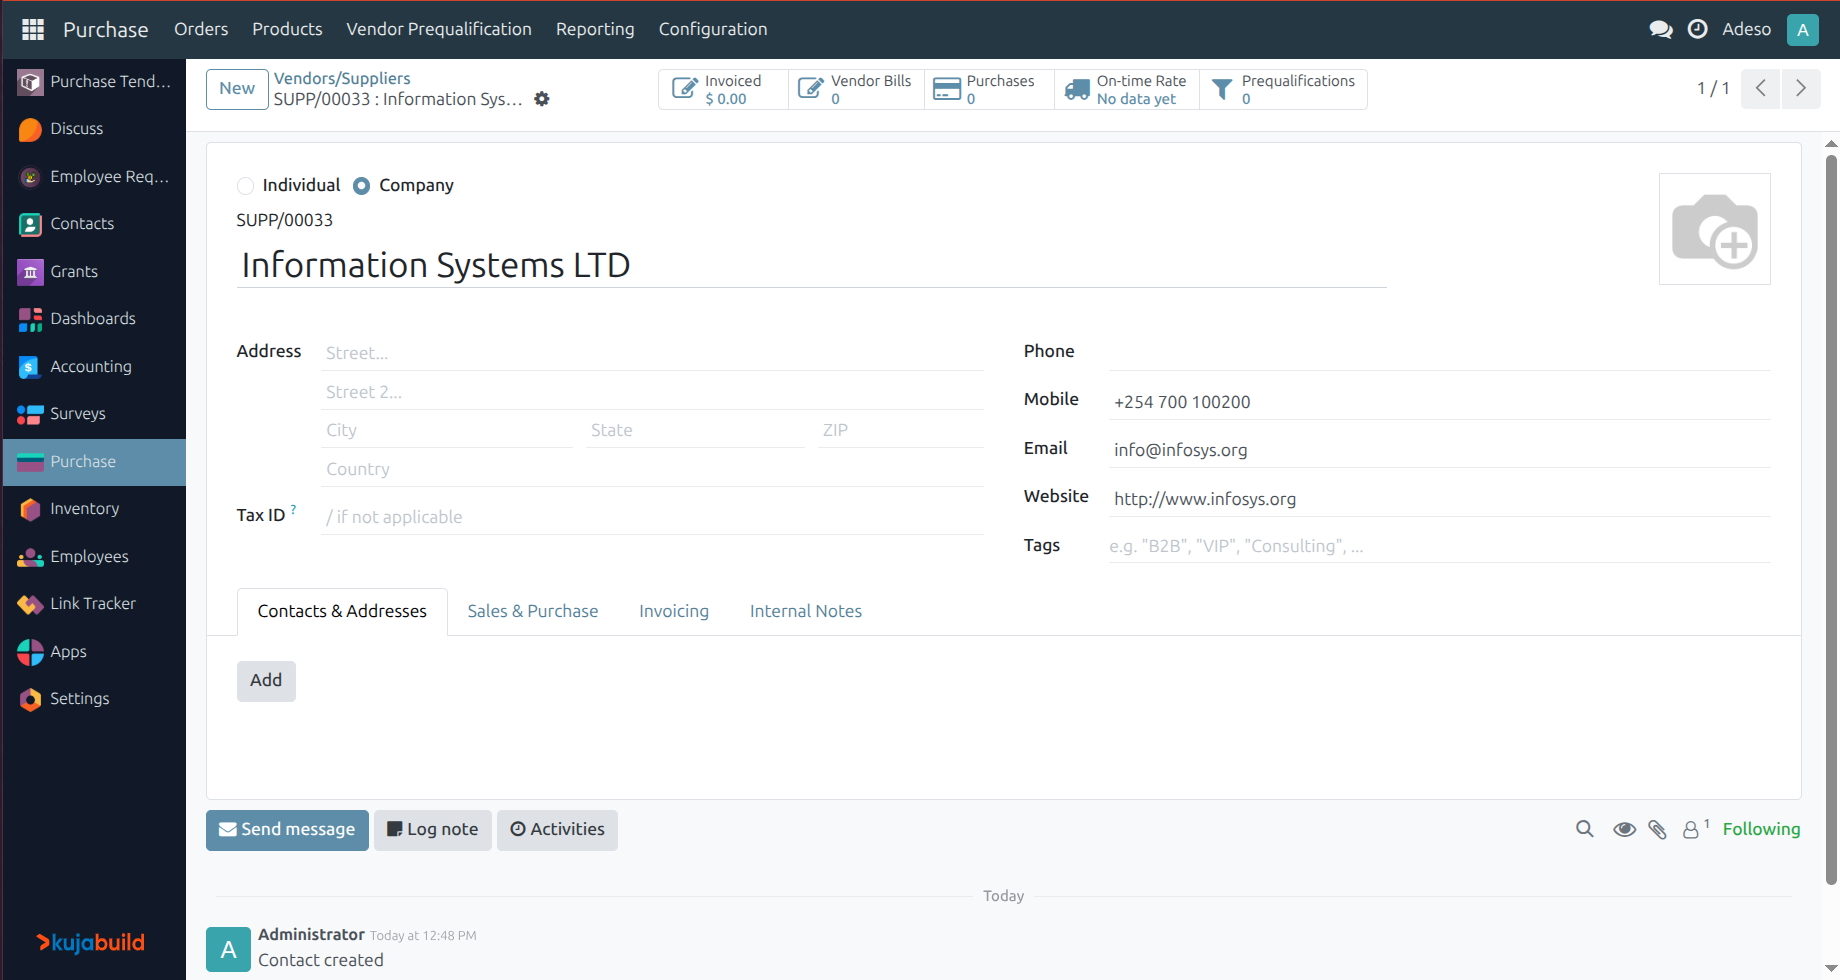
A vendor’s contact form shows a Prequalifications smart button, listing their current Active prequalifications across all categories, so a buyer can check a vendor’s standing without leaving the contact.